I want to say first that this is not the only way of setting up such a system. There are many ways of achieving this goal but this is the way I take. I do not issue any guarantee that this will work for you!
1 Preliminary NoteTo fully replace a Windows desktop, I want the Debian Etch desktop to have the following software installed:
Graphics:
- The GIMP - free software replacement for Adobe Photoshop
- F-Spot - full-featured personal photo management application for the GNOME desktop
- Google Picasa - application for organizing and editing digital photos
Internet:
- Iceweasel (Debian's name for Firefox)
- Opera
- Flash Player 9
- gFTP - multithreaded FTP client
- Icedove (Debian's name for Thunderbird) - email and news client
- Evolution - combines e-mail, calendar, address book, and task list management functions
- aMule - P2P file sharing application
- Bittorrent client
- Azureus - Java Bittorrent client
- Gaim - multi-platform instant messaging client
- Skype
- Google Earth
- Xchat IRC - IRC client
Office:
- OpenOffice Writer - replacement for Microsoft Word
- OpenOffice Calc - replacement for Microsoft Excel
- Adobe Reader
- GnuCash - double-entry book-keeping personal finance system, similar to Quicken
- Scribus - open source desktop publishing (DTP) application
Sound & Video:
- Amarok - audio player
- Audacity - free, open source, cross platform digital audio editor
- Banshee - audio player, can encode/decode various formats and synchronize music with Apple iPods
- MPlayer - media player (video/audio), supports WMA
- Rhythmbox Music Player - audio player, similar to Apple's iTunes, with support for iPods
- gtkPod - software similar to Apple's iTunes, supports iPod, iPod nano, iPod shuffle, iPod photo, and iPod mini
- XMMS - audio player similar to Winamp
- dvd::rip - full featured DVD copy program
- Kino - free digital video editor
- Sound Juicer CD Extractor - CD ripping tool, supports various audio codecs
- VLC Media Player - media player (video/audio)
- Real Player
- Totem - media player (video/audio)
- Xine - media player, supports various formats; can play DVDs
- GnomeBaker - CD/DVD burning program
- K3B - CD/DVD burning program
- Multimedia-Codecs
Programming:
- Nvu- WYSIWYG HTML editor, similar to Macromedia Dreamweaver, but not as feature-rich (yet)
- Bluefish - text editor, suitable for many programming and markup languages
- Quanta Plus - web development environment, including a WYSIWYG editor
Other:
- VMware Server - lets you run your old Windows desktop as a virtual machine under your Linux desktop, so you don't have to entirely abandon Windows
- TrueType fonts
- Java
- Read/Write support for NTFS partitions
Debian automatically installs the GNOME desktop.
Lots of our desired applications are available in the Debian repositories, and some of these applications have been contributed by the Debian community. The rest (except for VMware Server) can be obtained by using Automatix. This makes it very easy to achieve our goal.
- Download the latest current build from the Debian website http://www.debian.org/distrib/. You’ll only need to download and burn the first ISO for CD1, since all the other CDs contain packages that can be downloaded via the ‘apt-get’ command.
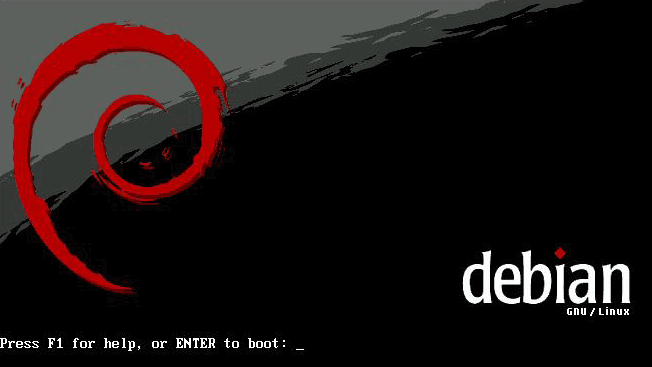
- Insert the CD and set your BIOS or ‘first boot’ menu to boot from CD. As the CD spins up you will be brought to a prompt with the Debian logo. Debian Etch defaults to install the Linux 2.6 kernel so just hit enter.
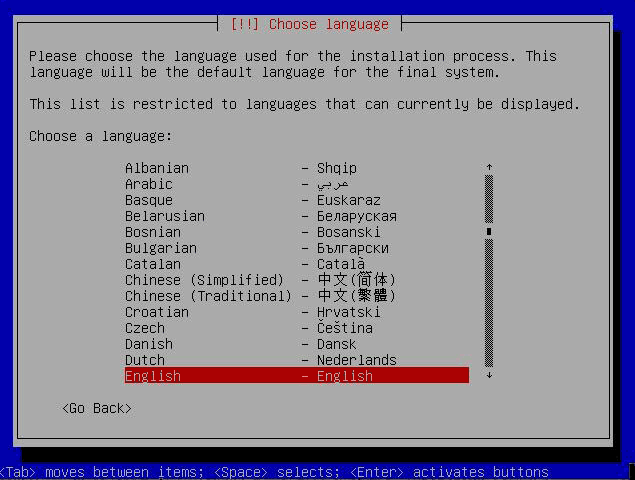
- The ‘Choose language’ screen will appear, select ‘English’ or your preferred language.
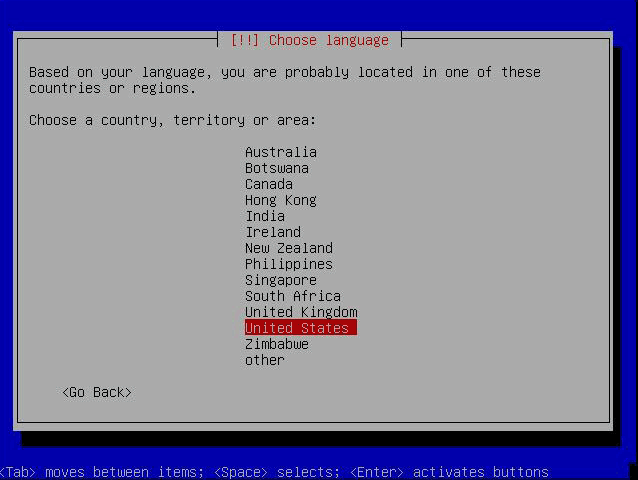
- The ‘Choose country or region’ screen will appear, select ‘United States’ or your preferred country.
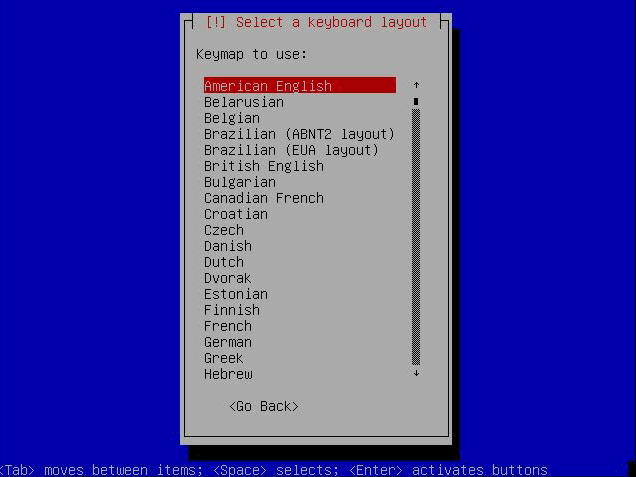
- The ‘Select a keyboard layout’ screen will appear, select ‘American English’ or your preferred layout.
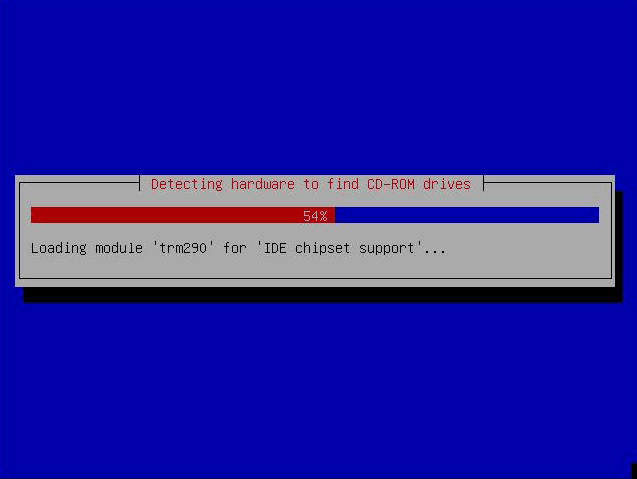
- The pre-installer will start to scan your hardware, scan the packages available on the CDROM, load the components of the Debian installer, then detect and configure the network with DHCP if detected.
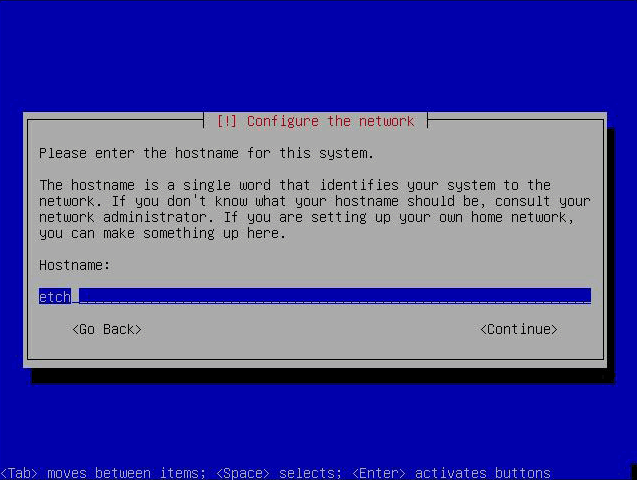
- You be prompted at the ‘Configure the network’ screen, were you will be asked to select a hostname for your system.
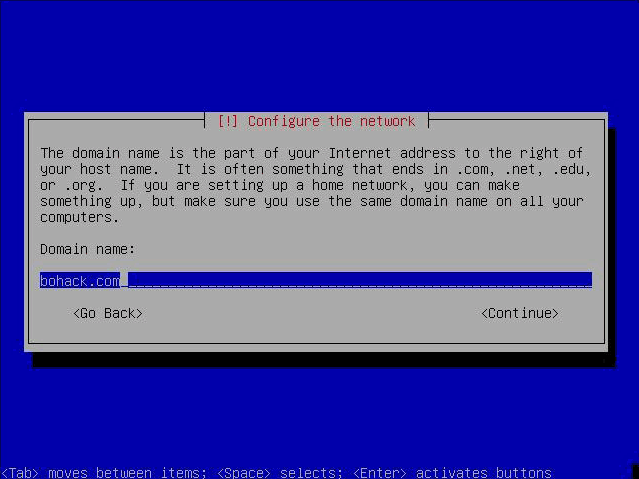
- Then you’ll be prompted with the ‘Domain name’ prompt, were you will select your domain name for your system.
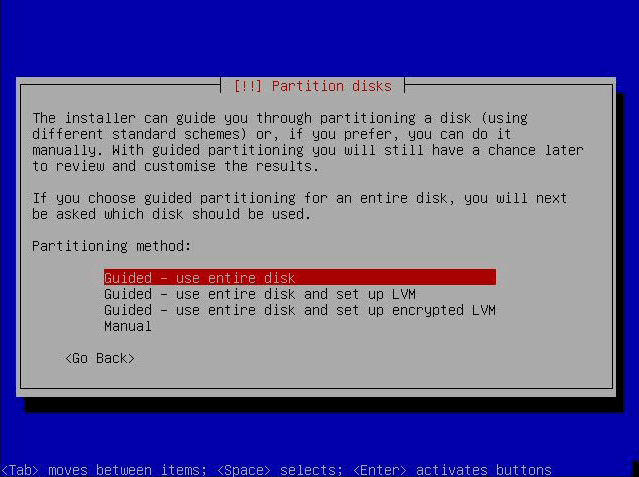
- The installer will detect all disks and start the partition utility. It is preferable to select the ‘Erase entire disk’.
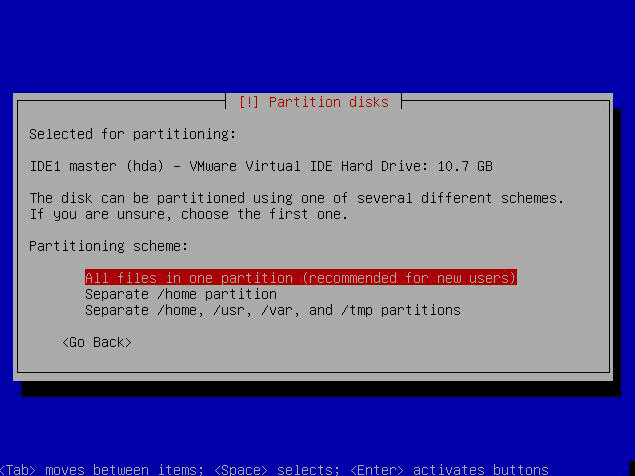
- The next prompt will ask you for a partitioning scheme, again it is preferable to select the default of ‘All files in one partition’.
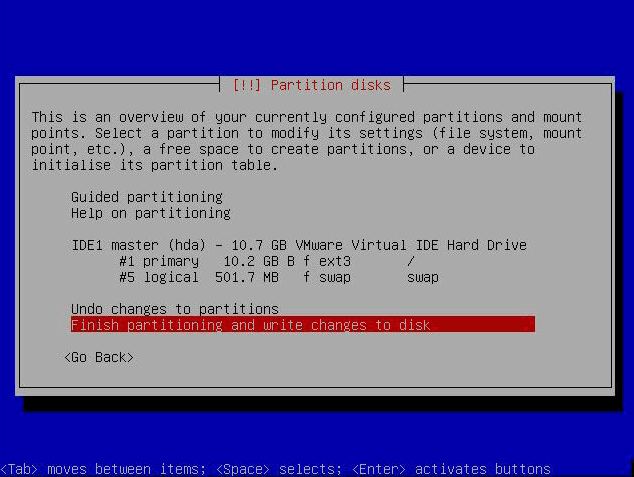
- You will then have a chance to confirm your selection and ‘Finish partitioning and write the changes to disk’.
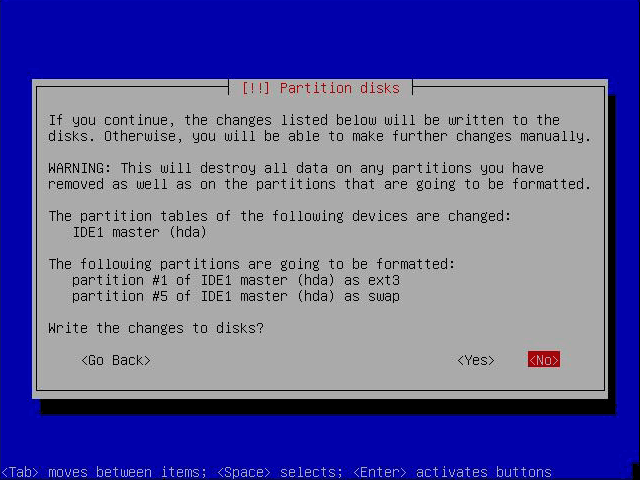
- You’ll be prompted again to write the changes, select ‘Yes’ the default is ‘No’.
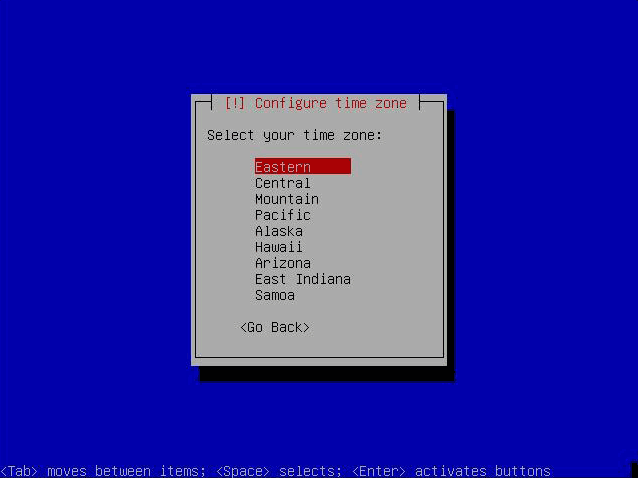
- The installer will ask for your time zone, enter the desired time zone.
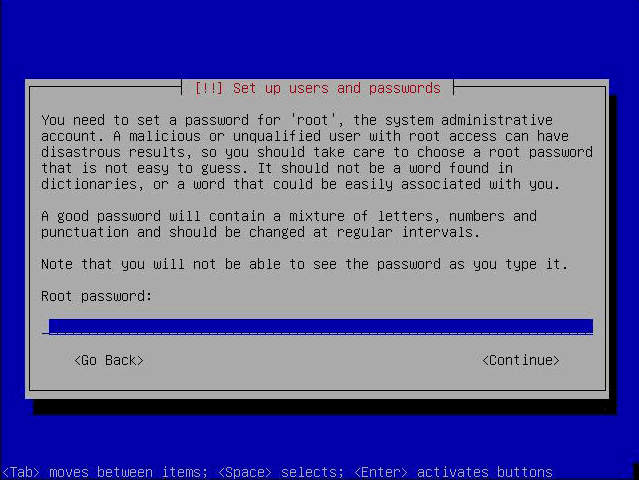
- The installer will ask for the root’s password (privileged user account).
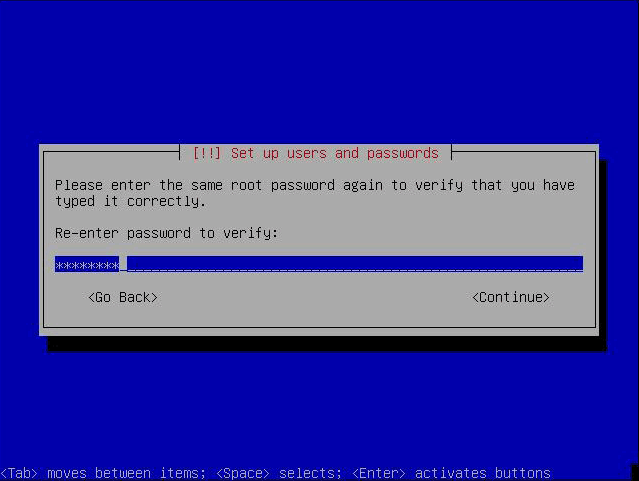
- You will need to type the password again for confirmation.
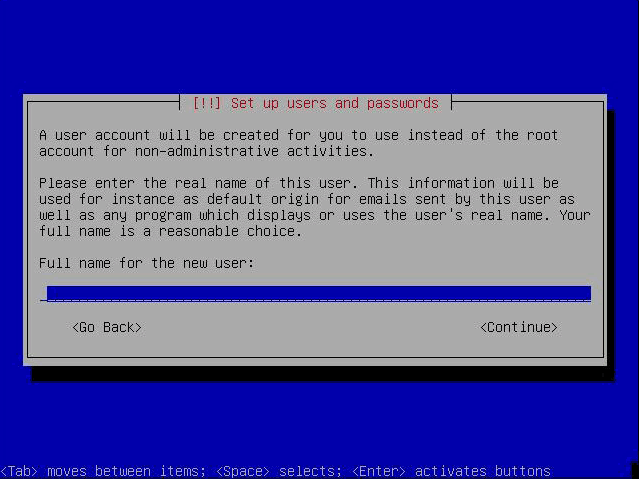
- You will also be required to create an initial user (non-privileged user account) account.
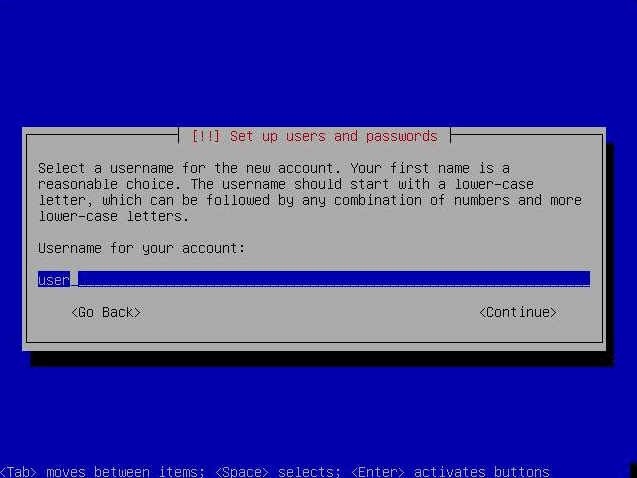
- You will need to supply a login name for the account.
- Set the password for this user and confirm it like the previous account.
- The system installer will begin installing the entire system now.
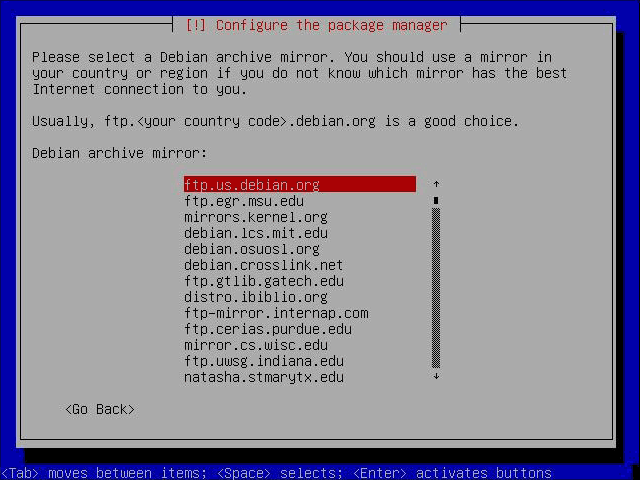
- The package manager will now require configuration, select ‘Yes’ for a mirror.
- Choose ‘United States’ for the mirror’s country or your country.
- Choose ‘ftp.us.debian.org’ or the first mirror that appears for you prior selection.
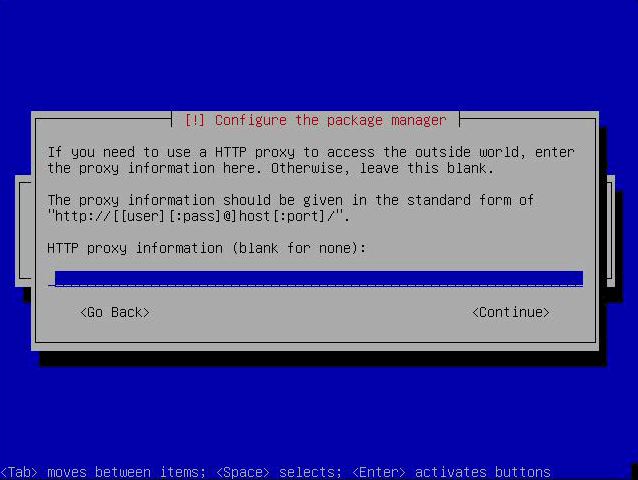
- Select ‘Enter’ if you are not using a proxy.
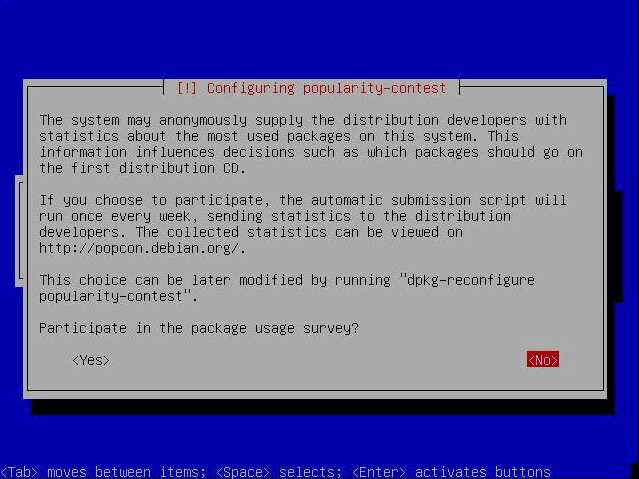
- The developers ask that you participate in a feedback survey, for this how-to we will answer ‘No’.
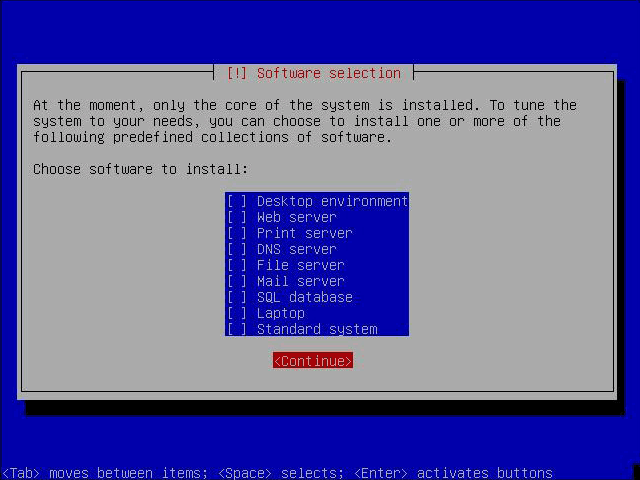
- Unselect all software using the spacebar and arrow keys and select ‘Continue’.
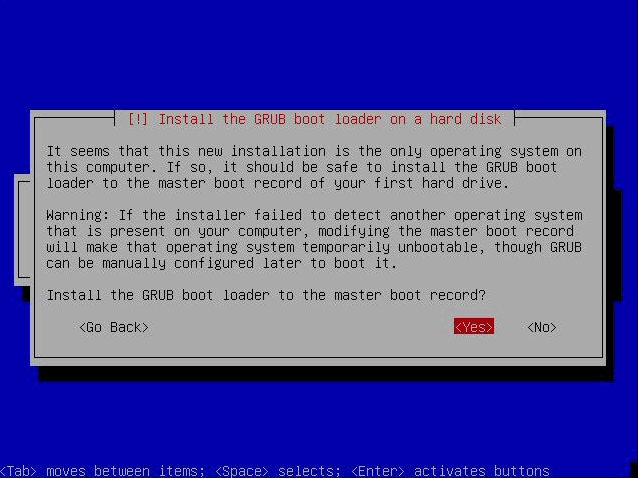
- Answer ‘Yes’ to the Grub loader screen, this will install the boot manager of Grub on the system; this is used for emergency purposes.
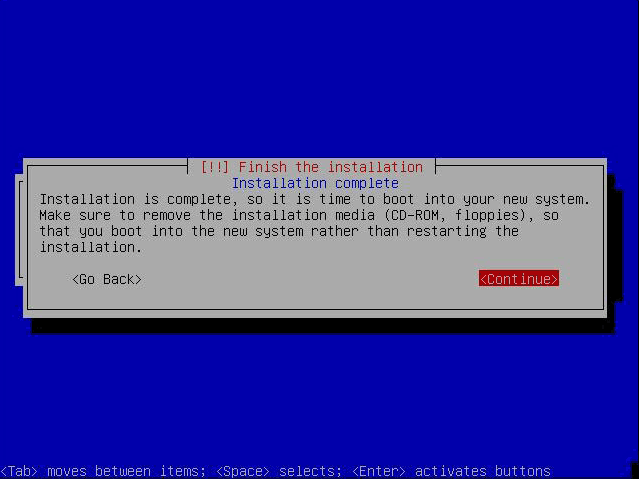
- Finish the install by selecting ’Continue’.
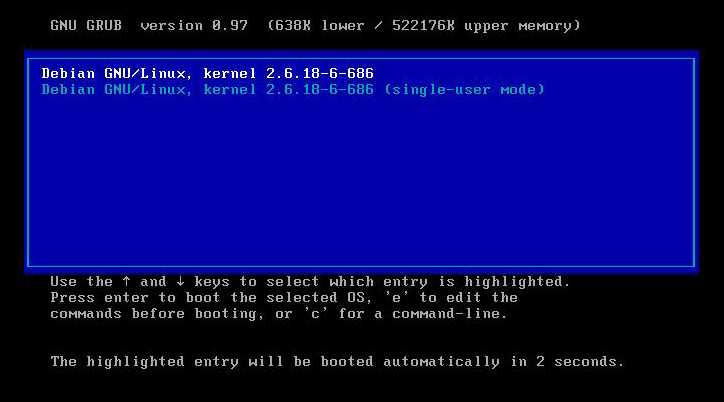
- You will reboot and see the Grub boot loader.
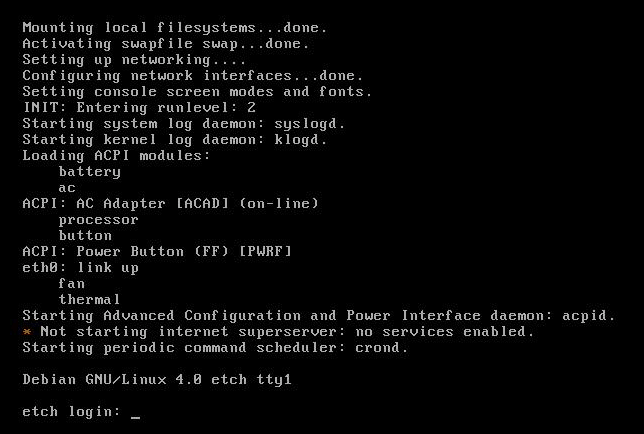
- You can now login as ‘root’ with the password you supplied for ‘root’.
- Edit ‘/etc/network/interfaces’ by typing:
emacs -w /etc/network/interfaces# This file describes the network interfaces available on your system
# and how to activate them. For more information, see interfaces(5).# The loopback network interface
auto lo
iface lo inet loopback# The primary network interface
#auto eth0
#iface eth0 inet dhcpauto eth0
iface eth0 inet static
address 192.168.1.2
netmask 255.255.255.0
network 192.168.1.0
broadcast 192.168.1.255
gateway 192.168.1.1 - Set the resolver for proper DNS servers.
emacs -w /etc/resolv.confsearch foo.com
nameserver 192.168.1.3
nameserver 192.168.1.4 - Next you will need to restart the network component.
/etc/init.d/networking restart - Add your new static IP to the hosts table.
emacs -w /etc/hosts127.0.0.1 localhost.localdomain localhost debian
192.168.1.2 debian.foo.com debian
# The following lines are desirable for IPv6 capable hosts
::1 ip6-localhost ip6-loopback
fe00::0 ip6-localnet
ff00::0 ip6-mcastprefix
ff02::1 ip6-allnodes
ff02::2 ip6-allrouters
ff02::3 ip6-allhosts - Set the system’s hostname.echo server1.example.com > /etc/hostname
/bin/hostname -F /etc/hostname - Install some needed software packages and services.apt-get install wget bzip2 rdate unzip zip ncftp nmap lynx fileutils dnsutils
apt-get install tcpdump less make tftp rdate file gcc g++ ssh - Sync the time with an atomic clock.crontab -e
# update time with time.nist.gov
0 3,9,15,21 * * * /usr/sbin/rdate time.nist.gov | logger -t NTP - Set up the ‘bashrc’ file.nano -w /root/.bashrc
# ~/.bashrc: executed by bash(1) for non-login shells.
export PS1=’\h:\w\$ ‘
umask 022# You may uncomment the following lines if you want `ls’ to be colorized:
export LS_OPTIONS=’–color=auto -h’
eval “`dircolors`”
alias ls=’ls $LS_OPTIONS’
alias ll=’ls $LS_OPTIONS -l’
alias l=’ls $LS_OPTIONS -lA’# Some more alias to avoid making mistakes:
alias rm=’rm -i’
alias cp=’cp -i’
alias mv=’mv -i’# Bohack’s stuff
alias nano=’nano -w -K’
alias pico=’nano -w -K’
alias ptree=’ps axf’PS1=’\[\033[36;1m\w \[\033[35;1m\h \[\033[0m\$ ‘
export PS1
export GREP_OPTIONS=”–color=auto”
TERM=xterm-color
export TERM
cd /
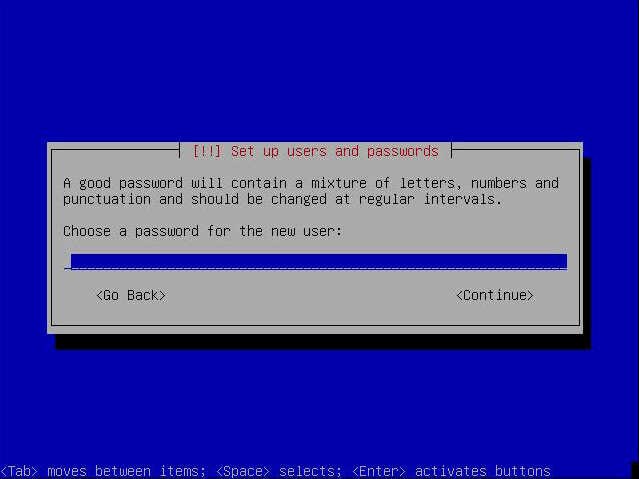
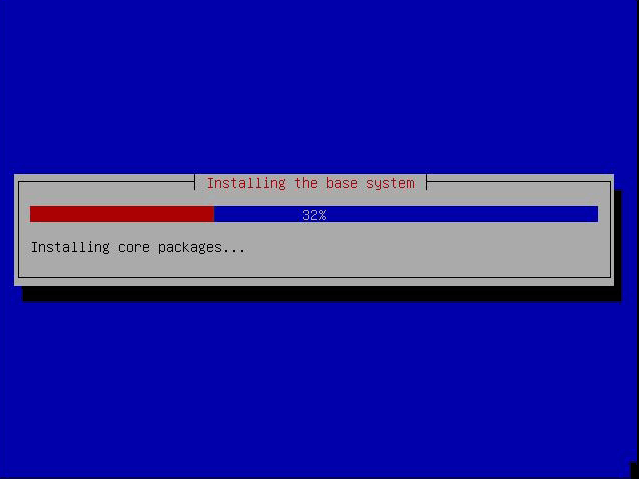
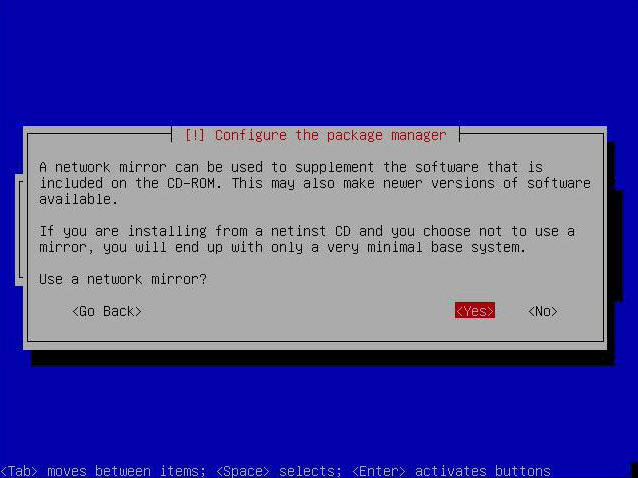
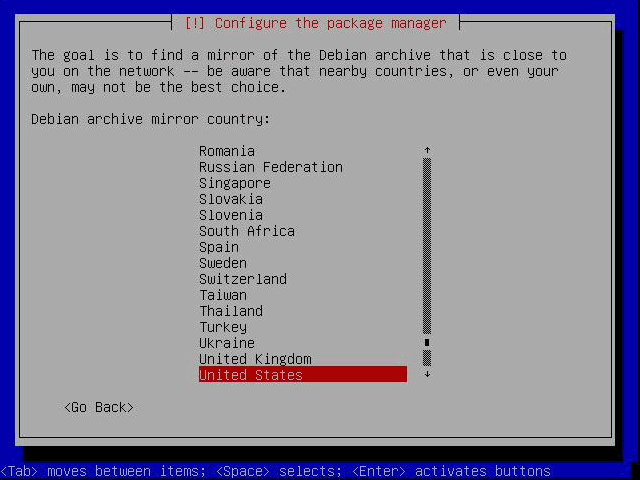
Now that we have an installed and running system we need to tweak a few settings. The network was installed and DHCP had been automatically configured, however since this will be a server DHCP is not the right choice; we will need to manually configure an IP address.
Done! You now have a minimal install of Debian as a clean install. Don’t forget to do an ‘apt-get update’ and an ‘apt-get upgrade’, to install any major/minor updates.
Howto Upgrade a Debian 4.0 ("Etch") to Debian 5.0 ("Lenny"):
This article shows how you can upgrade a system running Debian Etch to Debian Lenny. It is intended for both server and desktop systems.
I do not issue any guarantee that this will work for you!
1 Preliminary Note
You should take a backup of your Debian Etch system (you can find some suitable tutorials for this in the Backup category), just in case something goes wrong (but the upgrade worked fine for me).
2 Install The Latest Etch Updates
Before we upgrade to Lenny, we install the latest updates for Etch.
Make sure that your /etc/apt/sources.list uses etch, not stable (because lenny is the new stable), e.g. as follows:
vi /etc/apt/sources.list
deb http://ftp2.de.debian.org/debian/ etch main |
Then install the updates as follows:
aptitude update
aptitude upgrade
3 Modify /etc/apt/sources.list To Use Lenny
After we have installed the latest Etch updates, we open /etc/apt/sources.list...
vi /etc/apt/sources.list
... and replace all etch references with lenny:
deb http://ftp2.de.debian.org/debian/ lenny main |
Then update the packages database:
aptitude update
4 Doing The Upgrade
Next we install the Lenny versions of dpkg, aptitude, and apt because their Etch versions are often unable to handle the upgrade to Lenny:
aptitude install dpkg aptitude apt
Then we do a minimal system upgrade (because a full upgrade might cause some conflicts at this stage):
aptitude upgrade
---
If this is a desktop system, you should now check if the package libfam0c102 is installed:
dpkg -l libfam0c102 | grep ^ii
If it is, install its Lenny version now:
aptitude install libfam0
---
Afterwards, we can start the full distribution upgrade:
aptitude full-upgrade
(This command is the same as aptitude dist-upgrade.)
Afterwards, reboot the system:
reboot
After the reboot, check your new kernel:
uname -r
It should display Lenny's 2.6.26 kernel, e.g.:
server1:~# uname -r
2.6.26-1-486
server1:~#
And /etc/debian_version should now contain 5.0:
cat /etc/debian_version
server1:~# cat /etc/debian_version5.0
Done!

No comments:
Post a Comment